Key Features
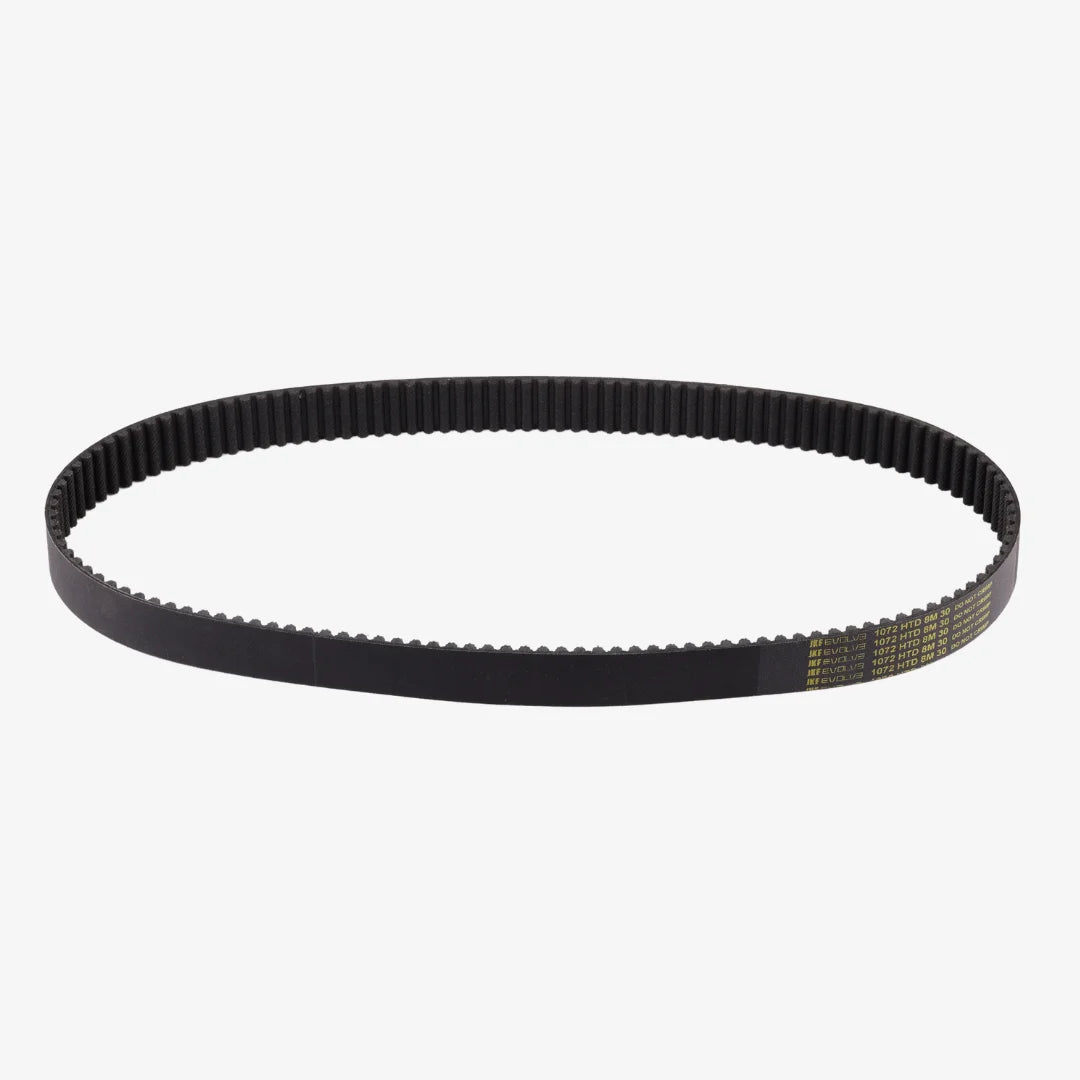
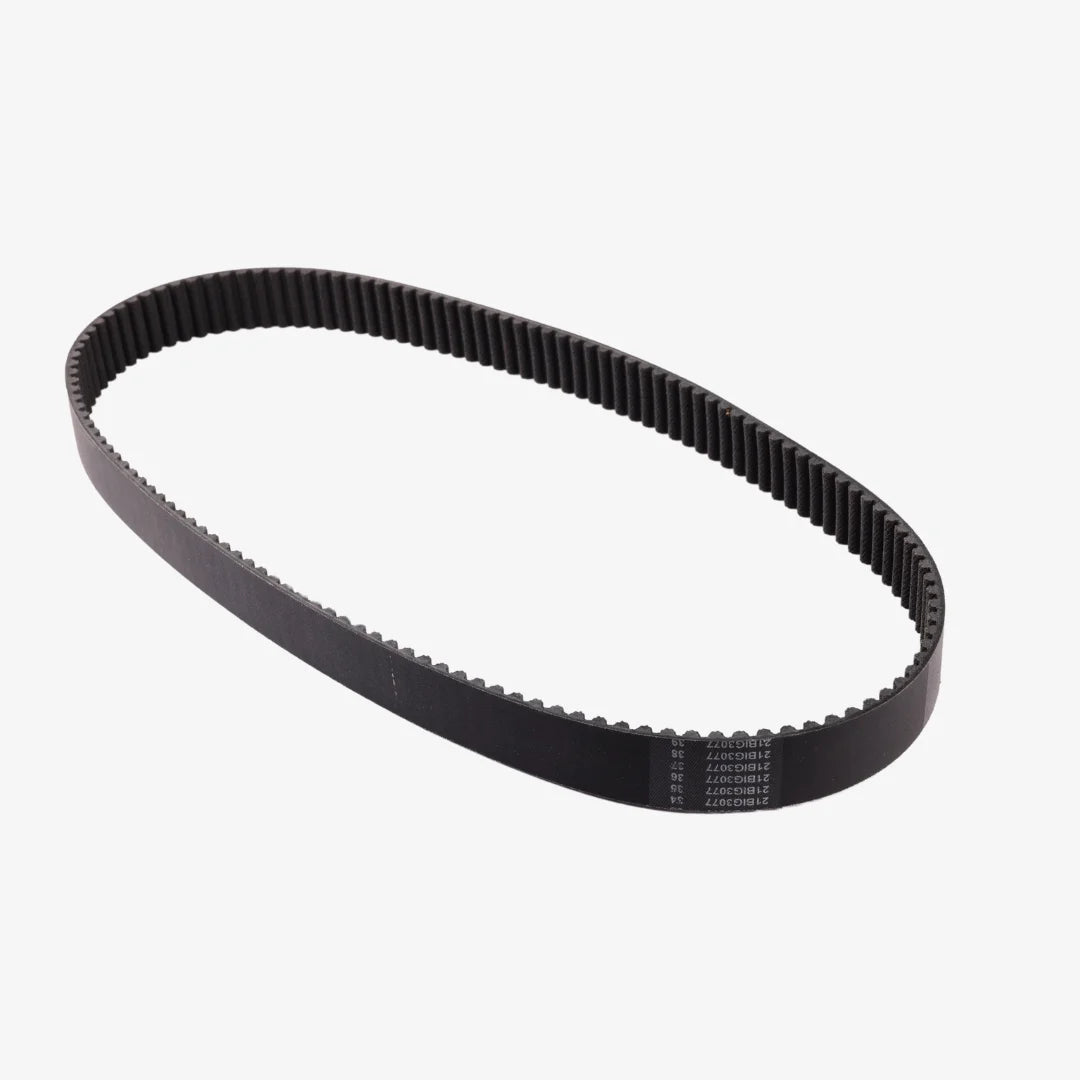
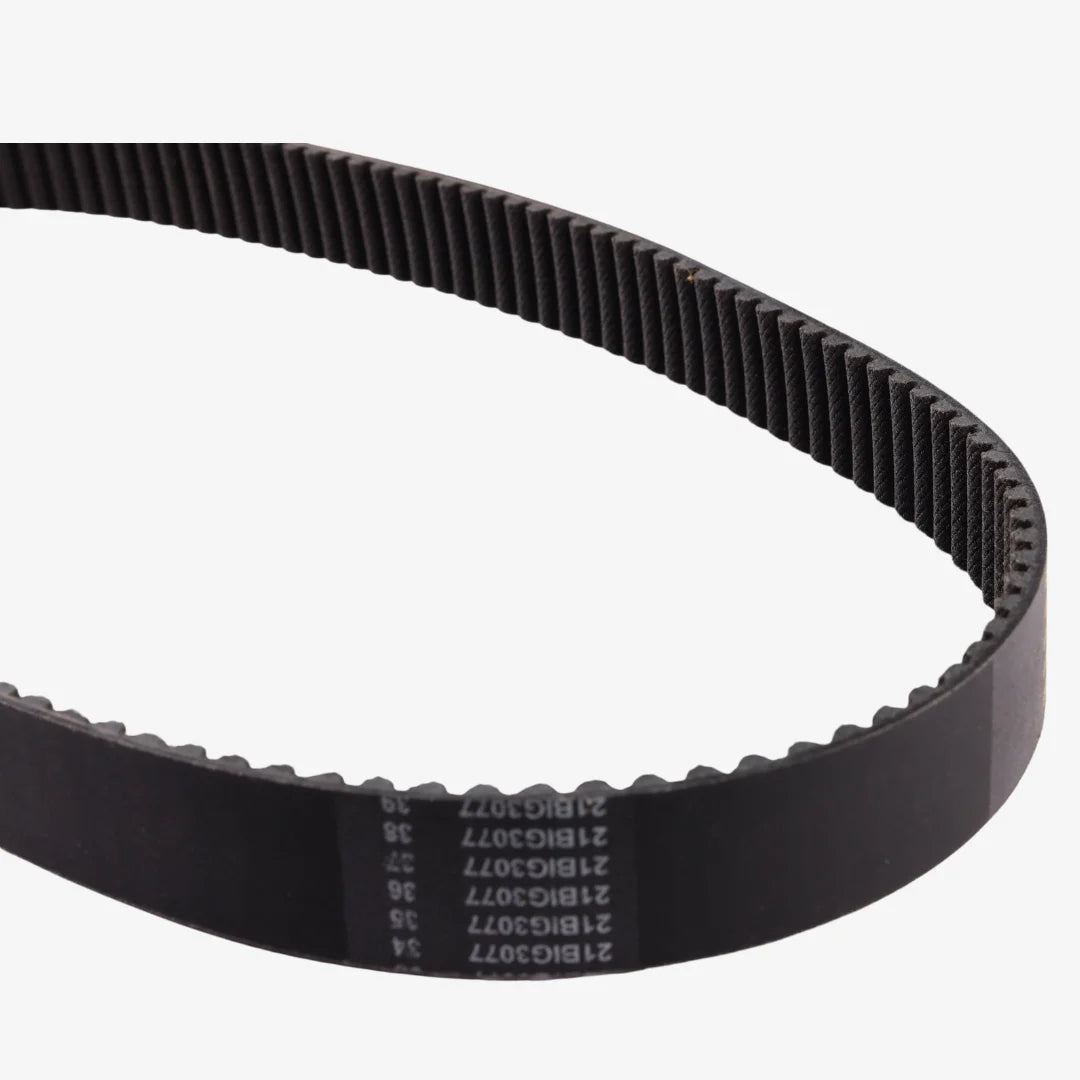
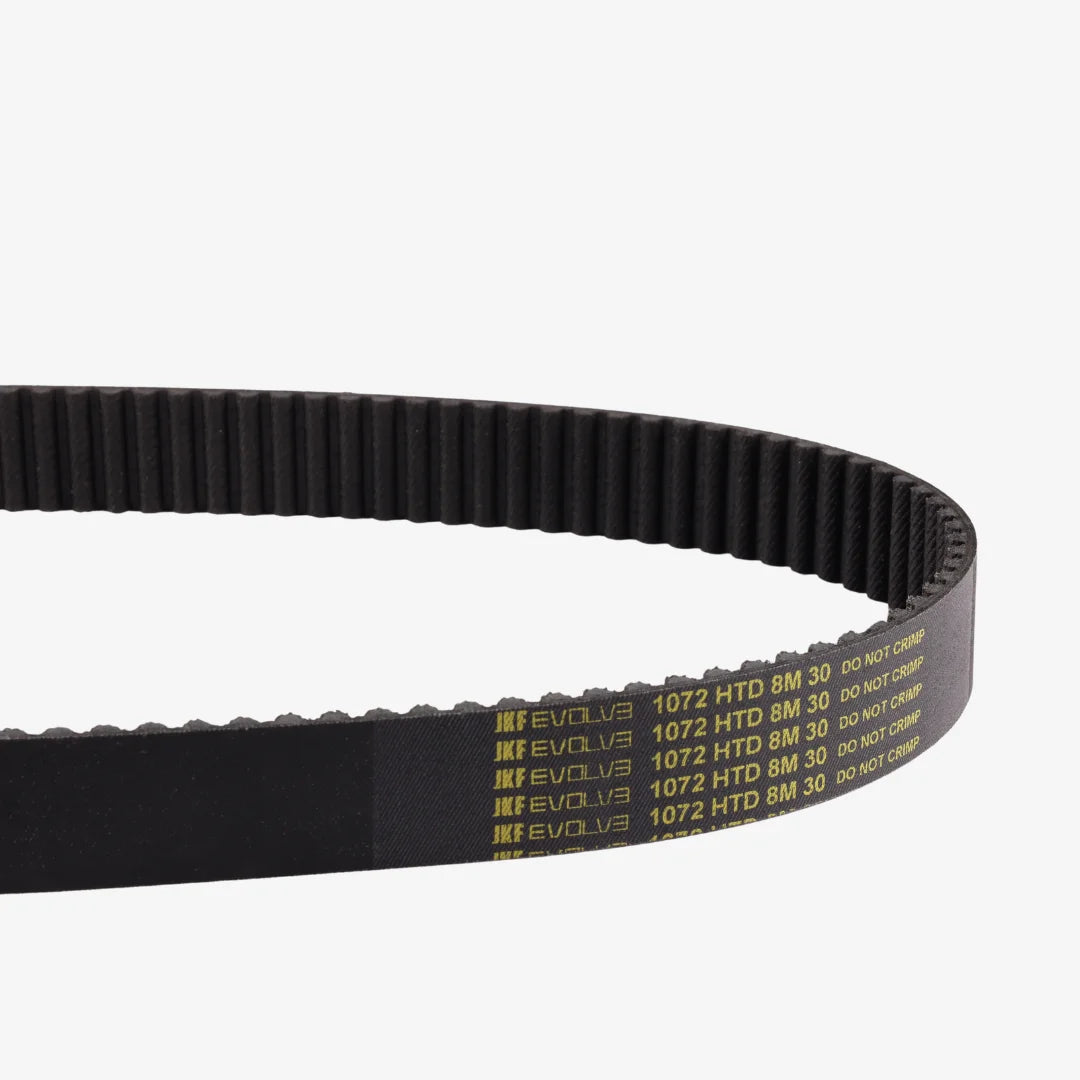
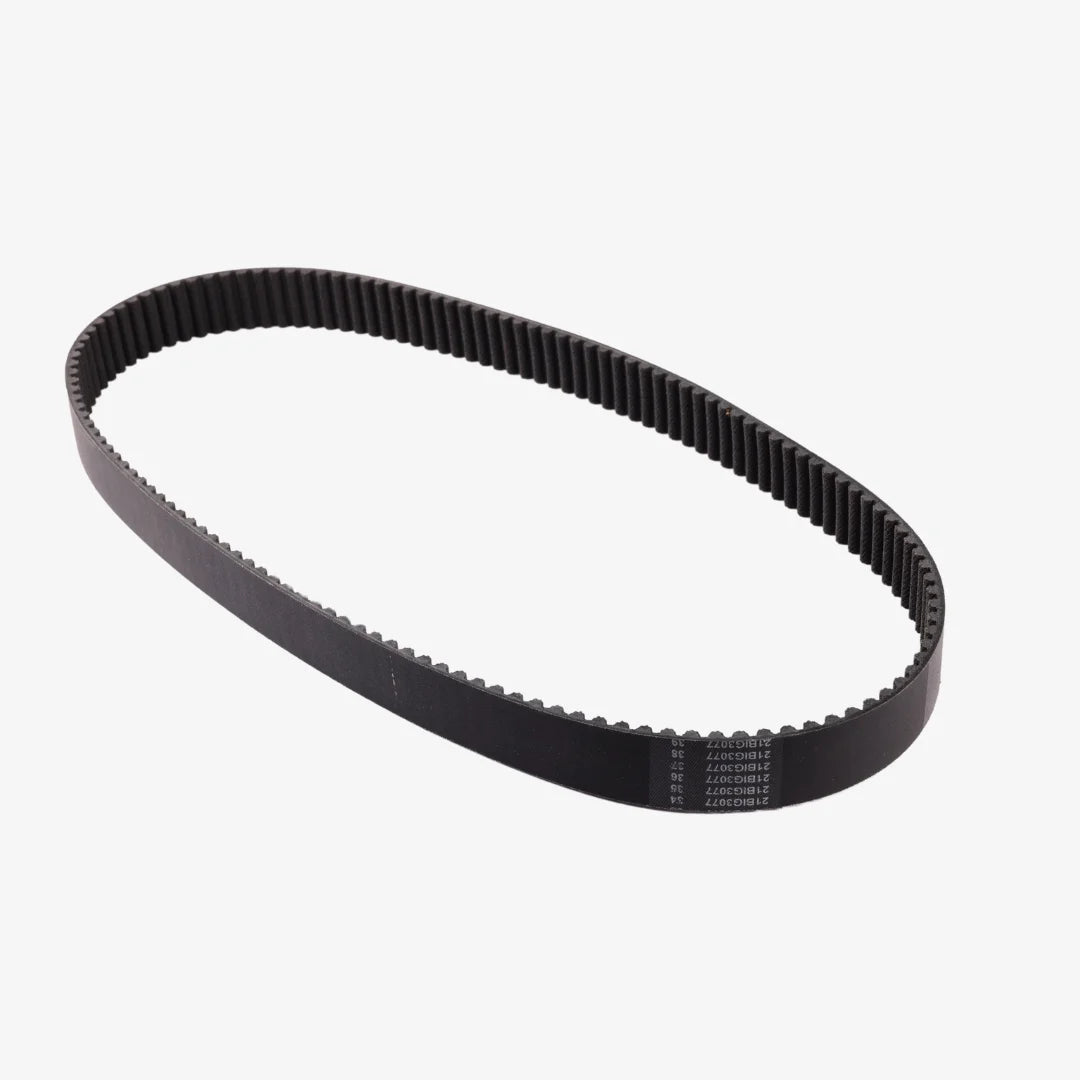
- Engineered for Longevity: Designed for extended service intervals, ensuring long-lasting performance.
- Minimal Maintenance: Requires little upkeep, making it convenient for everyday use.
- Low-Noise Operation: Operates quietly to maintain the serene environment of electric vehicles.
- Enhanced Efficiency: Crucial for smooth and efficient operation, even under demanding conditions.
- High Stress Resistance: Built to withstand high torque, stress, and prolonged usage.
- Adaptable Performance: Operates effectively under varying temperatures and rapid speed changes.
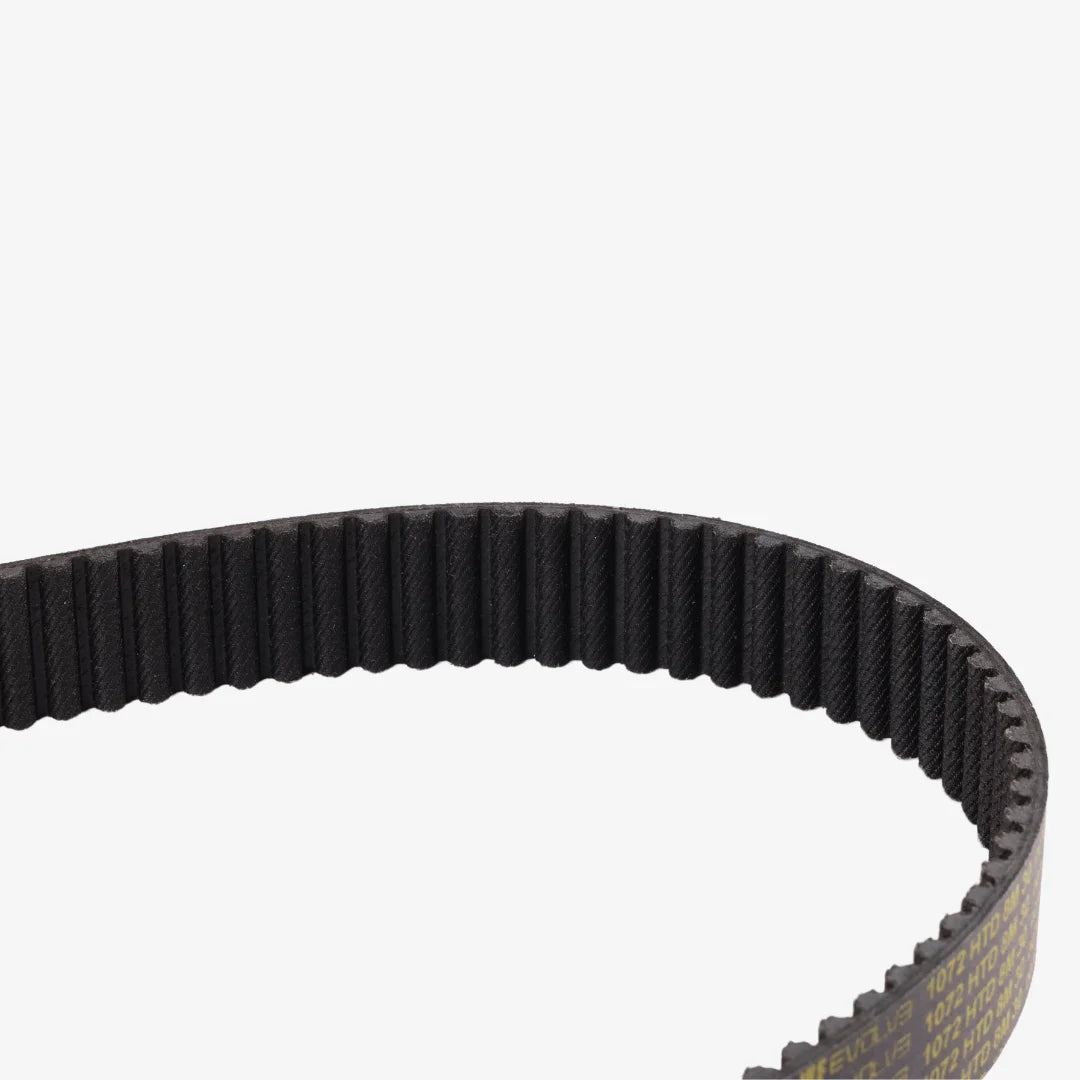
- Special Teeth Profile: Features a unique grip design to prevent slipping and ensure precision.
Belt Installation Procedure
-
Preparation:
- Turn off the scooter and secure it safely.
- Gather tools like wrenches, a torque wrench, and a belt tension gauge.
- Remove any covers or panels blocking access to the belt area.
-
Remove Old Belt (If Applicable):
- Loosen the tensioner to relieve belt tension.
- Carefully slide the old belt off the pulleys.
-
Inspect Components:
- Examine pulleys, tensioners, and related parts for damage or wear.
- Replace any worn or damaged components before proceeding.
-
Install New Belt:
- Align the new belt with the teeth on the drive and driven pulleys.
- Ensure the belt is properly seated with no slack.
-
Adjust Tension:
- Use the tensioner to apply the correct tension to the belt.
- Verify alignment and tension using a belt tension gauge if needed.
-
Reassembly and Testing:
- Reinstall covers or panels removed earlier.
- Start the scooter and run it briefly to check for smooth operation without slipping or unusual noises.
-
Final Inspection:
- Recheck the belt’s tension and alignment after testing.
- Make any necessary adjustments for optimal performance.
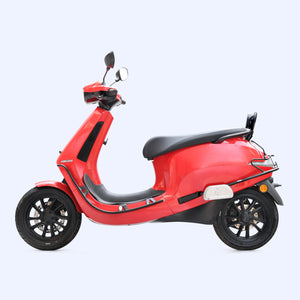
Note: Proper installation and maintenance of the belt ensure enhanced efficiency, safety, and extended service life for your Ola Gen 1 scooter.
